Project Management
Accessing Project Management
To access the project management system, follow these steps:
- In the top left corner of the screen, click on the company logo
- Select User → HRM

1. Task Management
1.1. Creating New Tasks
To create a new task in a project:
-
Click the "+ Add Task" button
-
Fill in all required information in the form:
- Detailed description
-
Click the "Create" button to complete
Video demo: https://youtu.be/jgqbz7BLjDU
1.2. Editing/Deleting Tasks
To edit information of an existing task:
- Click the "Edit" button
- Update the necessary information in the form
- Click the "Save" button to save changes

1.4. Additional Task Features
- Comment: Not Implemented.
- File Attachment Management: Upload, download, and preview file attachments when viewing/adding/editing tasks
2. Project Management and Permissions (Moderator Required)
2.1. Project Management
Creating New Projects
To create a new project:
- In the top left area of the HRM screen, in the My Project section
- Click the "+" button
- Fill in all required information in the form:
- Project name
- Project description
- Expected start and end dates
- Project objectives
- Click the "Create" button to create the project

Editing Projects
To update project information:
- In the My Project section, select the project to edit
- Click the "[✏️]" button (pencil icon)
- Update the necessary information
- Click the "Save" button to save changes

Deleting Projects
To delete a project:
- In the My Project section, select the project to delete
- Click the "[🗃️]" button (trash can icon)
- Select "OK" to confirm deletion or "Cancel" to abort
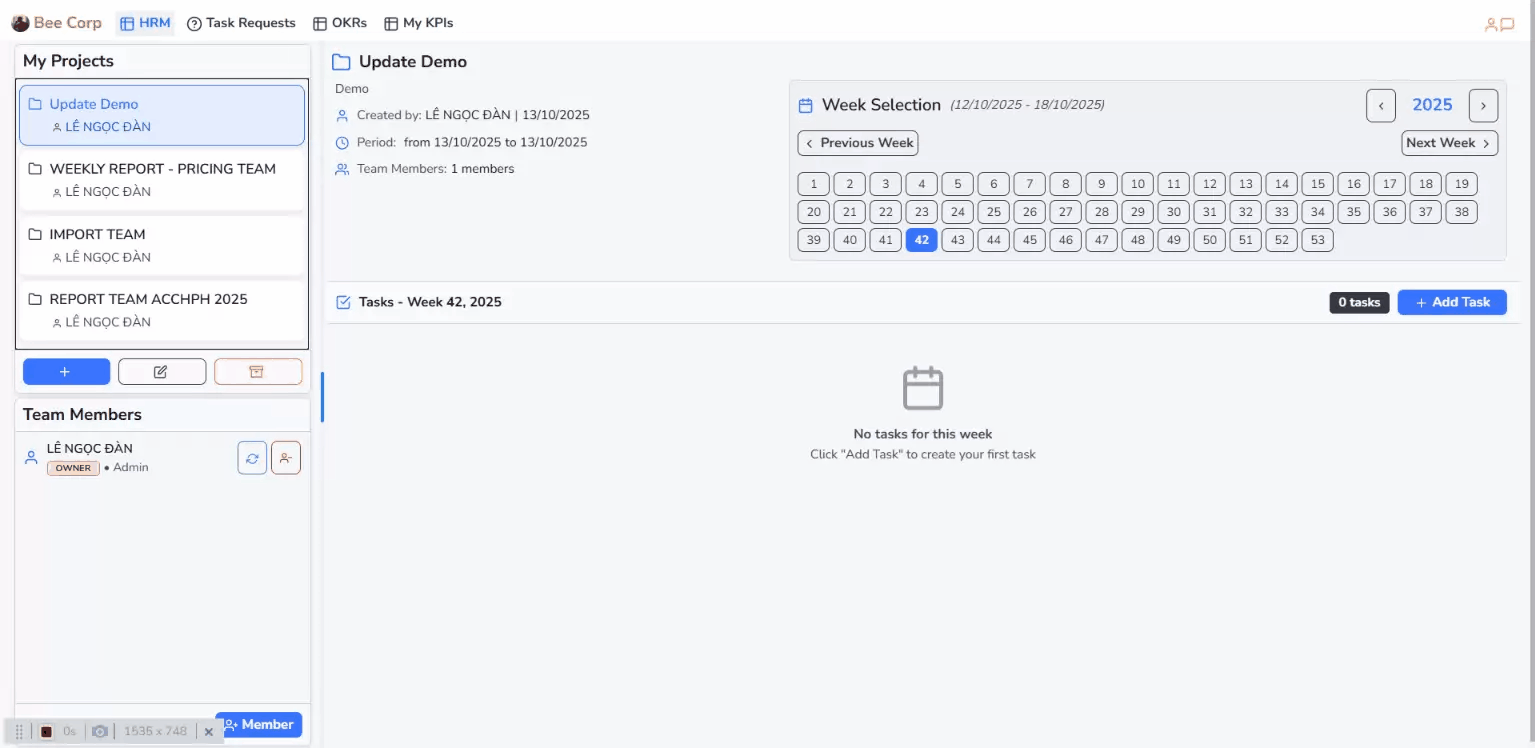
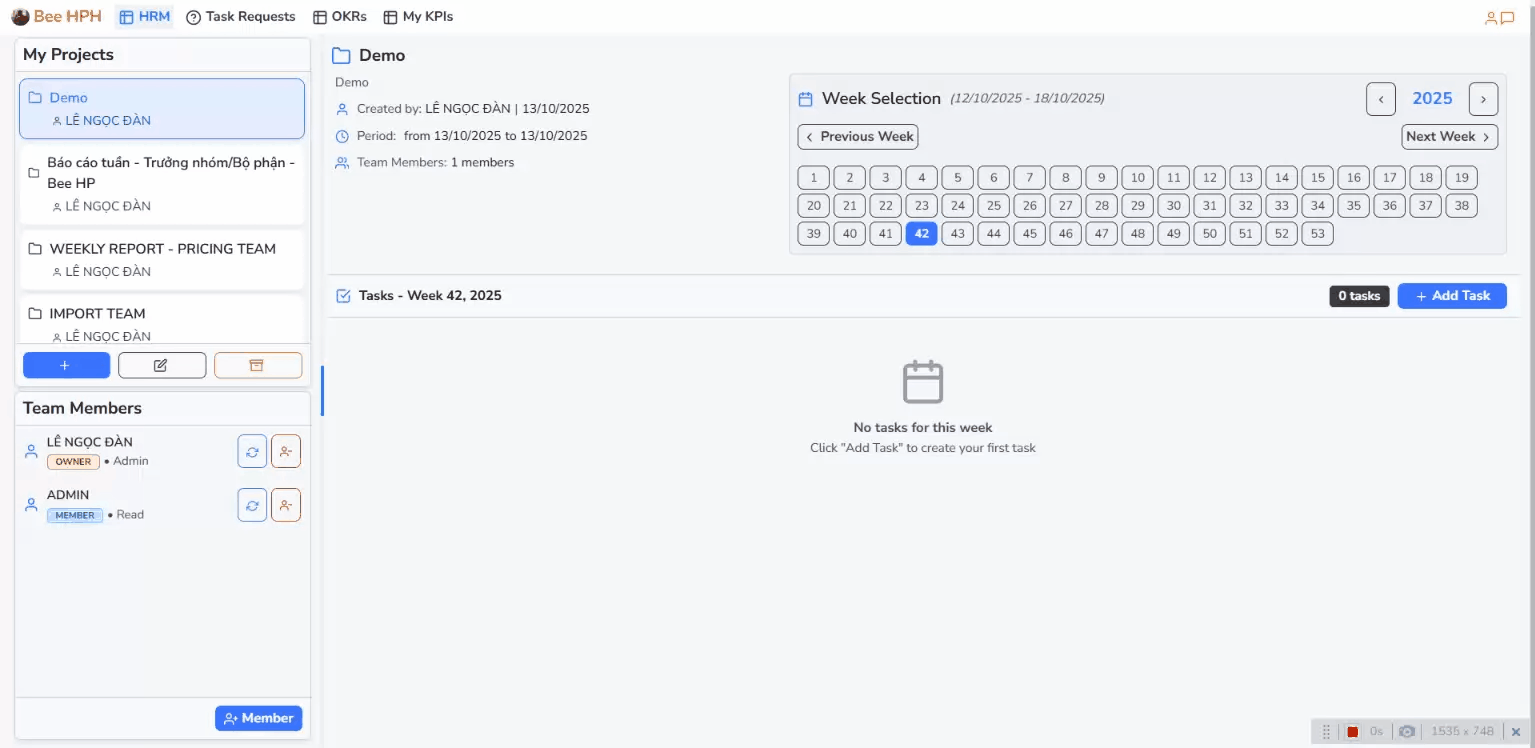
2.2. Team Members Management
Adding Members to Project
To add new members to a project:
- Select the project you want to add members to
- In the bottom left area of the HRM screen, in the Team Members section
- Click the "[+] Member" button
- Select appropriate Role for the member
- Choose members from the employee list
- Click the "Select Employee" button to complete

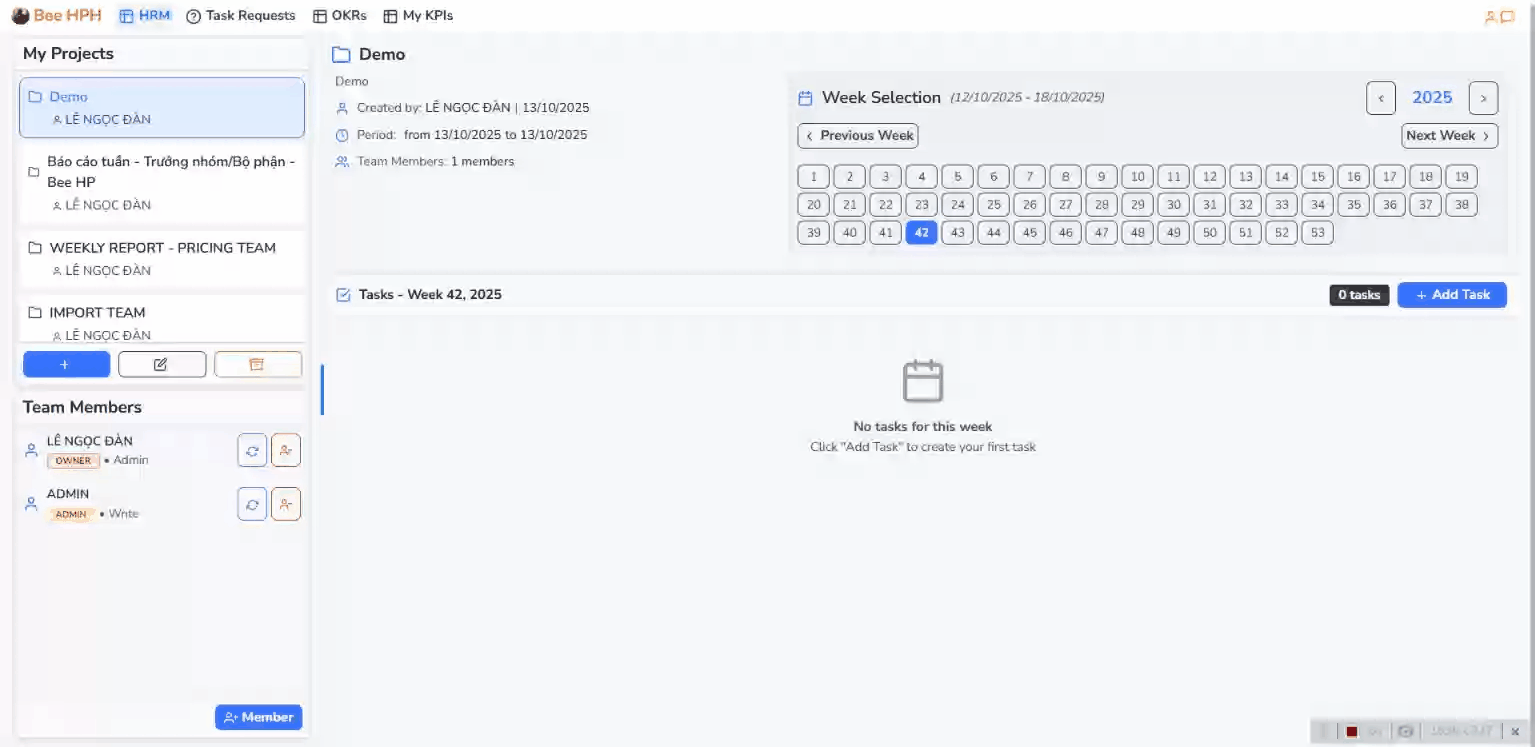
Changing Member Roles
To change a member's role in the project:
- In the Team Members section, find the member whose role needs to be changed
- Click the "🔄" button (change icon)
- Select the desired new role
- Confirm the change
Removing Members from Project
To remove a member from the project:
- In the Team Members section, find the member to remove
- Click the "👤-" button corresponding to that member
- Select "OK" to confirm removal or "Cancel" to abort
2.3. Project Permissions
Main permission types in projects:
- Project Manager: Full authority to manage projects and members
- Team Lead: Manage tasks and monitor team progress
- Member: Execute assigned tasks and update progress
- Viewer: Only allowed to view project information
Note: Only users with Moderator privileges or higher can create new projects and manage member permissions.